Garena Free Fire is one of the most popular battle royale games worldwide, known for its fast-paced action and strategic gameplay. A crucial aspect of improving in Free Fire is mastering the control settings. Optimizing your controls can significantly enhance your reaction time, aiming precision, and overall gameplay experience. In this guide, we will explore the best Free Fire control settings, their benefits, and how to customize them for optimal performance.
Understanding Free Fire Control Settings
Before diving into the best settings, it is essential to understand the different control options available in Free Fire. The game provides multiple control customization options, allowing players to adjust them according to their playstyle. The primary control settings in Free Fire include:
- Sensitivity Settings – Affects aiming and movement speed.
- Custom HUD Layout – Enables players to adjust button positions.
- Auto Aim & Aim Precision – Helps in targeting opponents.
- Gyroscope Settings – Assists with aiming using device motion.
- Fire Button & Quick Reload – Configures shooting mechanics.
- Claw vs. Thumb Playstyle – Decides the number of fingers used for control.
Optimizing these settings can make a huge difference in how smoothly and effectively you play.
Best Sensitivity Settings for Free Fire
Sensitivity settings are crucial in determining how quickly and accurately you can aim at your enemies. The best sensitivity settings depend on whether you are using a low-end or high-end device. Below is a recommended sensitivity setting:
- General: 90 – 100
- Red Dot: 70 – 85
- 2x Scope: 60 – 75
- 4x Scope: 50 – 65
- Sniper Scope: 40 – 55
- Free Look: 50 – 70
Why Sensitivity Settings Matter?
A well-adjusted sensitivity setting helps in fast movements, easy tracking of enemies, and smoother gameplay. If the sensitivity is too low, aiming becomes sluggish; if too high, controlling the crosshair can be challenging. Fine-tuning these settings helps in better headshots and quick reflex shots.
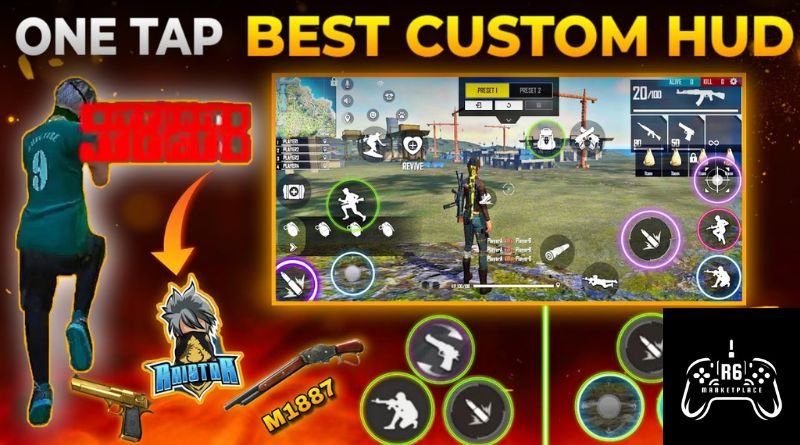
Custom HUD Layout for Better Gameplay
The Custom HUD (Heads-Up Display) layout allows players to reposition and resize buttons for an optimized gaming experience. Many pro players customize their HUD to make gameplay more comfortable. Here’s how you can customize your HUD:
- Fire Button: Place it at an easy-to-access position (left or right thumb area).
- Jump and Crouch: Adjust near the movement button for faster reflexes.
- Scope Button: Keep it near the firing button for quick aiming.
- Reload and Weapon Swap: Position these near the movement controls to switch weapons seamlessly.
- Grenade and Medkit: Keep them within thumb reach to use instantly in combat situations.
Tip: Experiment with different HUD layouts in training mode before finalizing your setup.
Auto Aim & Aim Precision Settings
Aiming is a vital part of Free Fire, and the game provides several aim precision settings to help players target opponents effectively. The three types of aim settings are:
- Default: The best option for beginners, as it automatically assists with aiming at enemies.
- Precise on Scope: Suitable for intermediate players who want better control while scoping.
- Full Control: Recommended for advanced players who prefer manual aiming without assistance.
Which Aim Setting is Best?
- Beginners should use Default for easy targeting.
- Experienced players can use Precise on Scope or Full Control for higher accuracy and better headshots.
Gyroscope Settings for Enhanced Aim
Using a gyroscope can significantly improve your aim by allowing you to move your device instead of using touch controls. Gyroscope settings can be customized as follows:
- Gyroscope ON: Enables motion-based aiming, useful for precise headshots.
- Gyroscope OFF: Disables motion controls, relying only on touch input.
- Sensitivity Adjustment:
- General: 90 – 100
- Red Dot: 80 – 90
- 2x Scope: 75 – 85
- 4x Scope: 65 – 75
- Sniper Scope: 50 – 65
Tip: Players who use gyroscope settings should practice in training mode to get comfortable with motion aiming.
Fire Button & Quick Reload Settings
The placement of the fire button plays a vital role in gameplay. Here’s how to optimize it:
- Adjust the size – Keep it large enough to tap quickly.
- Position it correctly – Place it near your thumb for faster response time.
Enable Quick Reload – Helps reload weapons without delay.
Best Fire Button Settings:
- Use two fire buttons (one on the left and one on the right) for better control.
- Enable fast switch between weapons to reduce reload time.
Claw vs. Thumb Playstyle – Which is Better?
Many players debate between using a thumb setup or a claw setup. Each has its own advantages:
- Thumb Playstyle:
- Easier for beginners.
- Comfortable but limits fast movement.
- Claw Playstyle (3 or 4 fingers):
- Allows faster movement and shooting.
- Recommended for advanced players.
Which One Should You Use?
- If you are new to Free Fire, start with a thumb setup.
- If you want faster reflexes and better aiming, switch to a claw setup.
Final Tips for Optimizing Control Settings
- Practice Regularly – Adjusting settings is just one part; regular practice helps master them.
- Use Training Mode – Test different setups before using them in real matches.
- Watch Pro Players – Learn from top players to understand their control techniques.
- Stay Updated – Free Fire often updates settings, so keep tweaking for optimal results.
Conclusion
Mastering the Free Fire control setting is essential for improving your gameplay. By optimizing sensitivity settings, HUD layout, aim precision, and gyroscope controls, you can enhance your performance and gain an edge over opponents. Whether you’re a beginner or an experienced player, customizing your settings according to your playstyle will significantly improve your overall Free Fire experience. Try out these tips and dominate the battlefield!
May Also Read: r6marketplace